Stop the Madness and Organize Your Digital Family History Documents
In the highly digital world we live in today, it's easy to accumulate large quantities of digital files and images. When I say large quantities, I mean thousands of photos and documents, it's crazy, it's madness.
My smart phone automatically syncs images I take with a folder I have designated in Dropbox called Camera Uploads. Of course, my intention is to always process that folder and file the images where they really need to go to aid in easy retrieval at a later date.
Not one to kid myself, for too long anyway, that processing rarely takes place. Often what is a manageable task in the beginning soon becomes an unwieldy beast when left unattended for too long. Being faced with a beast or walk away, I tend to walk away and leave it for another day.
No more! I was tired of wasting time looking for photos or documents in the long, long list. I read an article about batch processing graphics for blog posts (make 5 or 6 images at a time rather than only as needed) and that's when I decided I needed to batch process my digital images.
I'm not a folder type of person, the hierarchy ends up being too nested for me. In Evernote I rely on tags, Optical Character Recognition (OCR) and Evernote's powerful search to find what I am looking for. Time to employ the same tactics everywhere.
Organizing In Your Windows Folders
I reached out to Dropbox via Twitter to ask if their was a way to mass tag photos using Dropbox. They very nicely told me no, but appreciate that would be a great enhancement. I quickly saw that I don't need to perform the tagging in Dropbox, I can do it right from Windows.
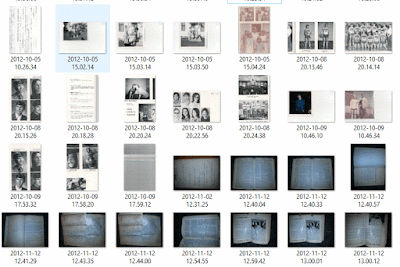
Your image folder probably looks like this. For ease in illustrating my steps, I will be working in the details view as displayed in the image above. The same steps apply using either view.
Your image folder probably looks like this. For ease in illustrating my steps, I will be working in the details view as displayed in the image above. The same steps apply using either view.
Step 1: Select The Images You Want To Organize
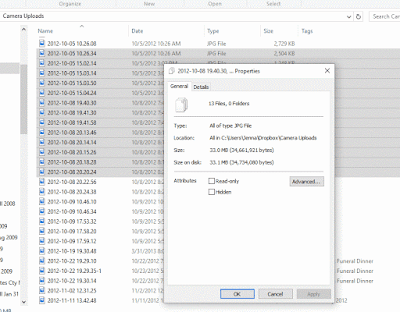
Select a large blocks of images with a left click of your mouse on the first image, hold down the shift key and then left click on the last image. Once your selected images are highlighted, right click to open the menu and select Properties. You will then see the Properties dialog box.Step 2: Assign a Tag
Click on the Details tab that is at the top of the dialog box, then position your mouse to the right of the word Tags and left click. You will see that you can now type in the tag you wish to assign to these files.
Step 3: Select OK on the Properties Dialog Box
After you select OK, you will see the tags you have assigned to the photos. You can then repeat these steps for all of your files. Thus batch tagging large groups of files as you have time.
Once you have tags assigned, you can search, sort and filter by those tags as well. I've selected mostly broad tags just to get myself started. I can then go back and add more detail if I choose to.


